
Homemade Yogurt in the Instant Pot
Homemade yogurt. Never would I ever have thought I would be making homemade yogurt. Now… well now, I can never go back to buying it at the store! Who knew how easy it was to make?
I use my Instant Pot DUO 80to make it and the process is surprisingly simple. There are a few steps to getting it right but once you get the hang of it it is easy. We like whole milk yogurt as a family so I use organic whole milk but I am sure low-fat milk would work as well. Also coconut milk and soy milk, but I have yet to try those out!
I normally double this recipe because like I said, we eat A LOT of yogurt but I have written this recipe for a smaller amount. By all means double it and use a gallon of milk.
Also, the recipe calls for plain yogurt with active cultures, as you continue to make your own yogurt you can always save out a few tablespoons to add as your starter.
Since we eat so much yogurt in this house, my husband thought it was important to point out his favorite part, the economics behind making your own yogurt:
- Before the Instant Pot we consumed roughly 4 pints of premium yogurt (ie Fage, Wallaby, etc)/month x $10/pint x 12 months = $480/Year to buy 40 pints of premium yogurt
- With Instant Pot it costs $6/gallon for organic milk to make 2 pints of premium yogurt. In order to make 40 pints of premium yogurt it costs $120/year in organic milk
- That means that the Instant Pot is saving $360/year of yogurt overhead!
- Even if you purchased the Instant Pot solely to make your own yogurt, the machine pays for itself in under 5 months, not to mention all the other benefits of the Instant Pot which I extol on a nearly daily basis on this blog (Did you read myInstant Pot Review?)
- And, don’t forget that this homemade yogurt also leaves you with a healthy supply of fresh, organic whey which you can add to recipes and smoothies to increase the protein content; Value: Priceless
Home Made Whole Milk Yogurt
2 Quarts Whole Milk (I use organic)
2 Tablespoons plain Greek yogurt with active cultures (it will say it on the packaging)
You will need an easy read food thermometer (I have this one) and a whisk . I also have an additional silicone sealing ring to use only when I am making yogurt so no other food odors flavor the yogurt.
1. Pour the milk into the insert pot of the Instant Pot and place the cover on with the steam valve turned to sealing. Select the yogurt function and adjust to “boil”, you need the milk to reach 180 F. It should take about 30 minutes and then “Yogt” will appear on the Instant Pot screen. Remove the lid and press the off button. Give it a good whisk and check the temperature with your thermometer, then turn on the saute button. I find that when I bring the milk to a full rolling boil using the saute function that it yields a much thicker yogurt. If you don’t want super thick yogurt, heat it another 5 minutes and make sure that the temperature reaches 180 F. Whisking midway will help it come up to temperature faster.
2. While you are waiting for the milk to come to temperature fill your sink with really cold water to make a water bath so that you can place the insert pot of milk in it to cool. Alternatively you can set it on a wire rack and let it cook down on it’s own. You need the milk to reach 115 F degrees. Whisking also aids in the cool down process.

3. Once your milk has cooled, add the two tablespoons of active yogurt to a bowl, ladle in a bit of the cooled milk and whisk the two together. Then whisk that mixture into the big pot of cooled milk. Dry the exterior of the basin off if you had it in a water bath.

4. Place the pot insert back into the Instant Pot. Cover with the lid and turn the valve to venting. Use the yogurt button again and set the time for 8 hours (use the + button to add time). Once it is finished the screen will read “Yogt”. Spoon the yogurt into containers and place in the fridge overnight.
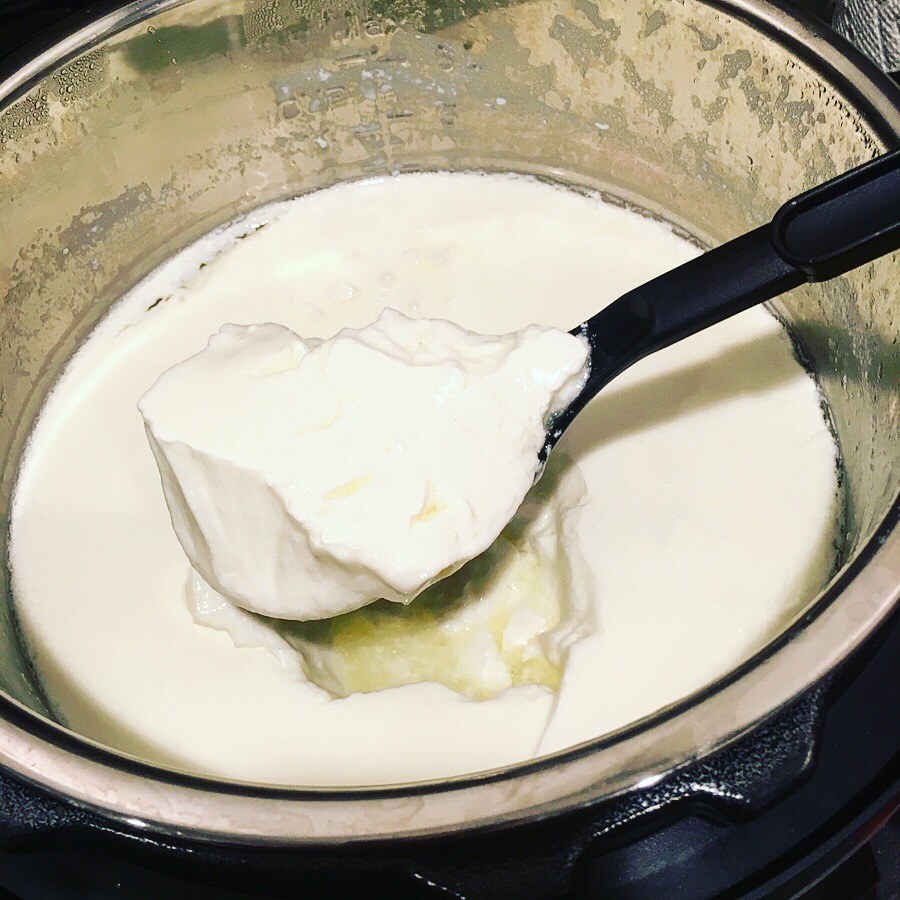
5. The next day I strain the yogurt. This is an optional step but we like thick Greek style yogurt so this is a must for us. Line a mesh strainer with cheesecloth (or I even use a very thin dishtowel here) and place that atop a bowl. Add the yogurt to the strainer and fold the cloth over the top to cover and place back in the fridge. Let sit for up to 4 hours to strain out the whey and become a thicker yogurt.

6. The longer it sits the thicker it will be. Once it reaches your desired consistency put in an air tight container and store in the refrigerator, it keeps for a week. I save the leftover whey and add it to smoothies and shakes and also have used it as a swap for milk in baked goods. There are so many things you can do with this calcium & vitamin B packed liquid! It too keeps a week in the fridge.

Enjoy your yogurt topped with fruit and granola (we make these two all the time: Granola Formula & Coconut Granola). My kids love it with this homemade Raspberry Compote that is so easy I make all the time! Also great in savory dishes or as a swap for sour cream!

Please note: A Modern Housewife LLC has affiliate relationships with multiple brands. A Modern Housewife LLC will earn a small commission on any item purchased through an affiliate link. That commission keeps this site up and running and allows us to keep the content coming to you, thank you! All items linked are because we own, love and use them, or think they are of value to our readers (basically, we think they are pretty cool and want them ourselves!). Please let us know you have any questions about any products featured!


10 Comments
laura
yummy!!!
Cormac
Tell me if you try it with coconut milk!
A MODERN HOUSEWIFE
I will! And may even try it just for you!
Pingback:
Pingback:
Pingback:
Pingback:
Pingback:
Pingback:
Pingback: